Getting Started (Quick start guide)
This guide includes how to install the drivers and a very basic guide on how to flash games with LittleWriter and X-Rom flasher.
Chapters:
- Driver Installation
- Basic LittleWriter flashing guide
- Basic X-Rom Flasher flashing guide
Driver Installation:
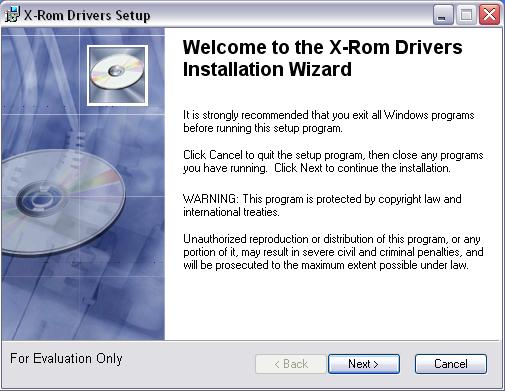
Alright... When you have your X-Rom linker set the first thing you need to do is download and install the drivers. Don't connect the linker to your computer yet. Click here to download the X-Rom drivers. Unzip and open X-Rom Drivers.exe. The installation wizard will appear...
Click next.
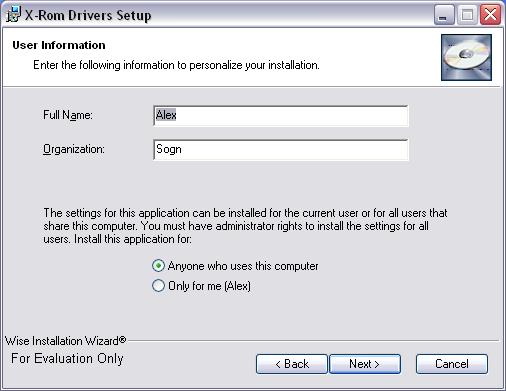
This will select who is allowed to use the drivers. The installation has already detected the names you chose when you installed windows. If you want, you can change these settings. If not, just leave everything as default and click next.
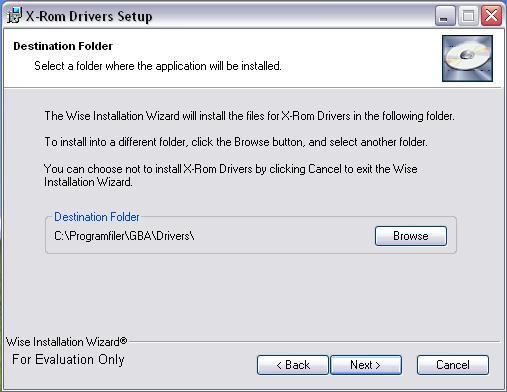
Here you can select where the drivers will be installed. I have created a GBA folder on my computer where I leave drivers, programs and everything GBA and X-Rom related. If you want, you can just leave it default, or you can choose a different path. It's up to you.
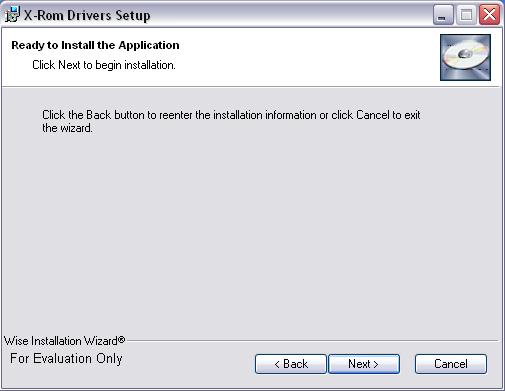
We are now ready to install! Click next.
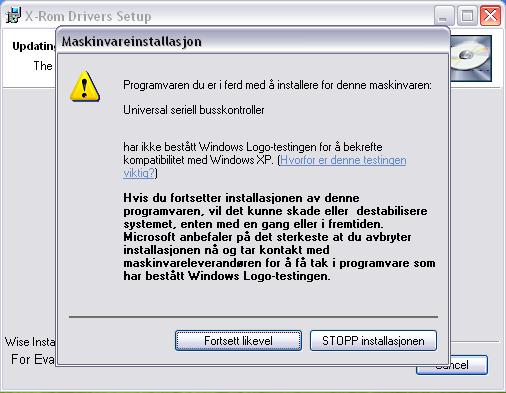
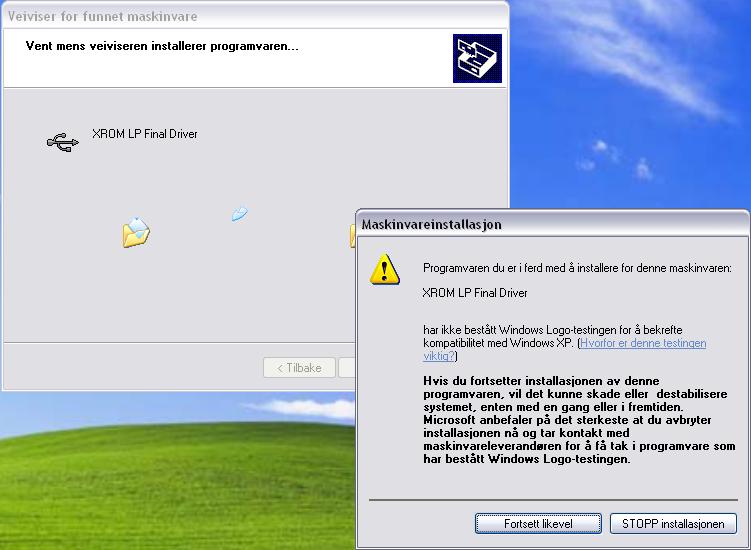
If you are using windows XP, this message will appear after a few seconds (it will not appear on windows 98 and 2000). My windows is in norwegian so it will be a little different from yours. Click on "Continue anyway".

And you're done! Click Finish to close the wizard. Now, plug the linker into a free USB port. Do NOT use a USB Hub or USB extension cable. Also, don't use your USB ports on the front of your computer as they are not connected directly to the motherboard. Only use the USB ports on the back of your computer.
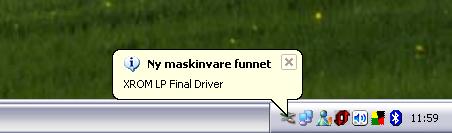
When you plug it in, a little box saying "New hardware found" will appear in the system tray and a new installation wizard pops up.
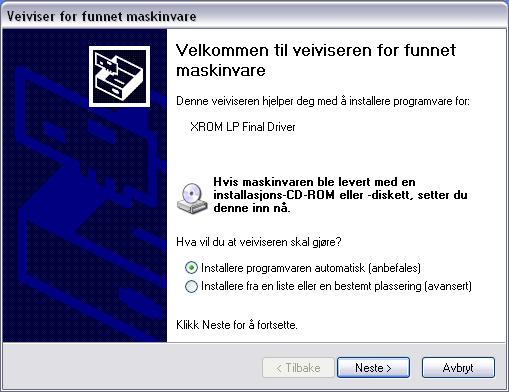
Once again, my windows is norwegian so don't mind the text. The first option (automatic installation) should be selected. Click next.
Note: SP2 users might not be able to install the drivers automatically. If you have Windows XP with SP2, you should read the SP2 Installation Guide by witchmaster. All credit goes to him.
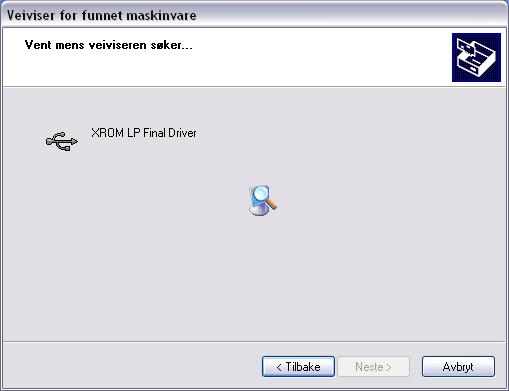
The wizard will now search for the drivers. It might take a few minutes.
Another warning message may, or may not appear. Don't be afraid if it does/doesn't appear. If it does, simply click "Continue anyway".
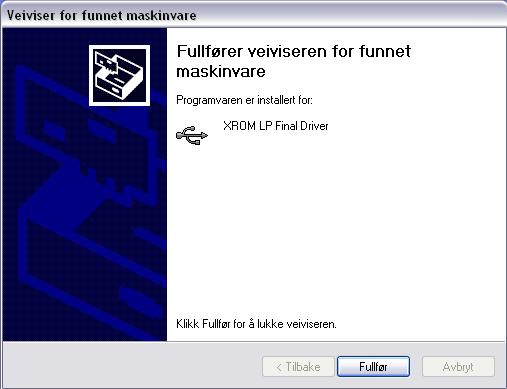
And you're done! Click finish. If you want, you can go to: control panel, system, hardware (tab), device manager, and scroll down to your USB devices to verify that the drivers are installed correctly.
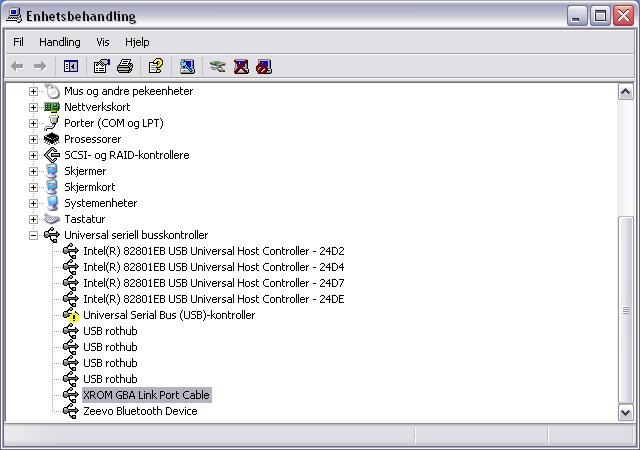
You should see XROM GBA Link Port Cable listed. If the Icon next to it looks like this, it's correctly installed! But if it has a yellow mark next to it (like the one I have on my Universal Serial Bus Controller) that means there was a problem during the installation. If you see that mark next to your X-Rom try to completely delete and reinstall the drivers again. If you are still having problems come to www.help-forums.com and we'll try to help you out.
That's all there is to installing the X-Rom drivers. Now over to how to flash with LittleWriter.
Basic LittleWriter flashing guide:
Click here to download LittleWriter (1.0.8.4). Unzip, execute and follow the installation instructions. I won't go any deeper on installing the software.
Once you're done with the installation, Insert the X-Rom into your GBA and power it up while holding down START and SELECT for at least 5 seconds. This is to let the cart get ready for flashing. When you power it up, the Gameboy logo and Nintendo logo will appear. After a second the Nintendo logo will disappear leaving only the Gamboy logo on the screen (you will hear a sound when it disappears). It should look like this:

Note: If the cart is empty it might go directly into flashing mode. Either way, if the screen shows ONLY the Gamboy logo it is correctly started and ready for flashing.

Connect the linker into the EXT.1 port on your GBA like this, and open LittleWriter.
The GBA will make a sound and the screen will turn into this at the same time as you launch LittleWriter.
Note: If you are using version 1.0.8.3, it will be a blue to black gradient instead of this screen.
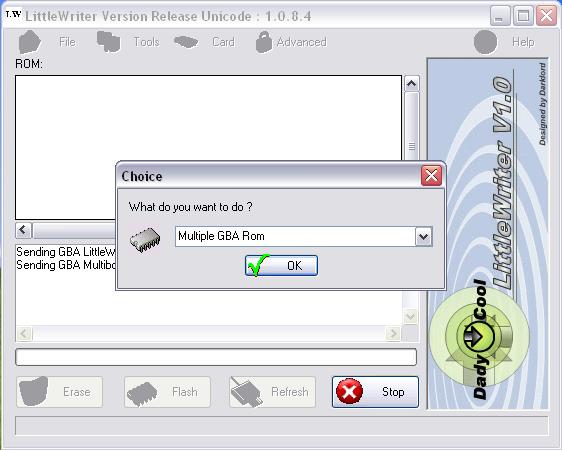
After a second or two you should get a message asking if you want to flash multiple GBA roms or a single GBA rom. Basically, single means only 1 GBA file and no loader (the game will start directly). With multiple you can have many GBA roms and you will get a menu to select which game to start when you boot up your GBA In this example we will be using multiple. Click ok.
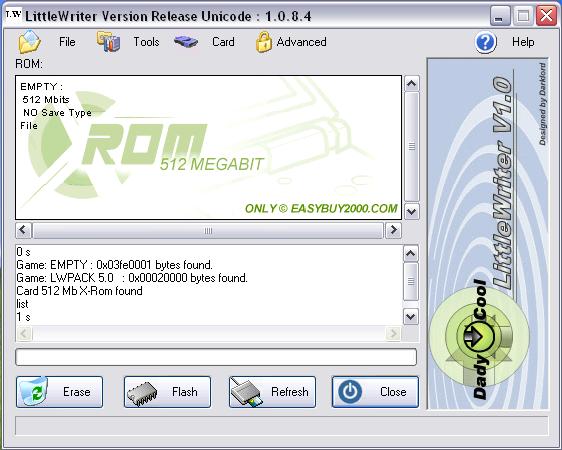
LittleWriter will now load SRAM and after that the window will look like this. To load GBA roms simply open the folder where your roms are located in windows and drag them over one by one into the LittleWriter window where it says EMPTY. LittleWriter supports both *.GBA files and *.ZIP files containing GBA roms. But the file size won't be smaller if you zip so you should just use *.GBA files.
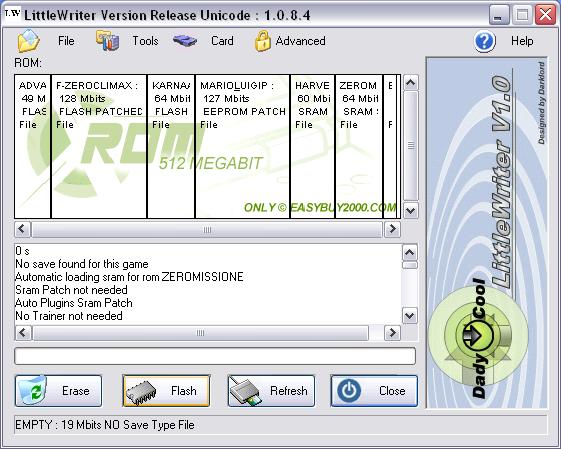
Here I have added all the roms I'm going to flash. When you're done, click "Flash" to start flashing the roms onto the cart.
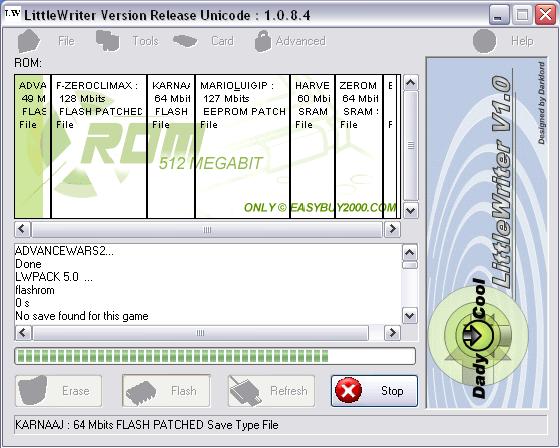
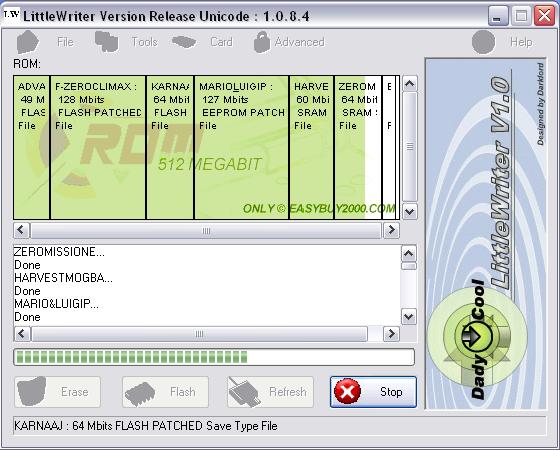
Here is the flashing process when it has just started. The green bar at the bottom shows the process of the current rom that's being flashed. On the upper part you can see how much of the entire cart that has been flashed.

Here it is halfway through.
Almost complete...
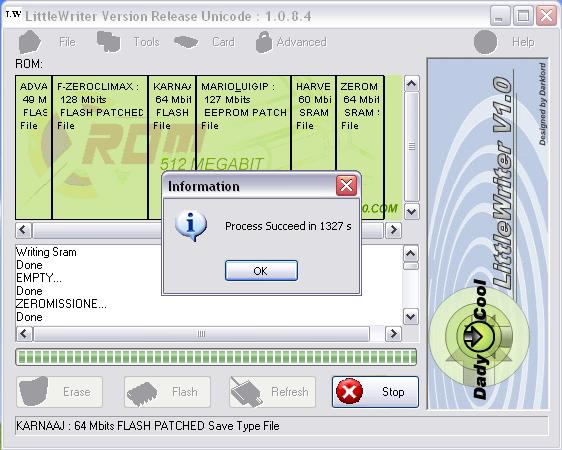
And... Done! The entire flashing took 1327 seconds which equals about 22 minutes. Click ok.
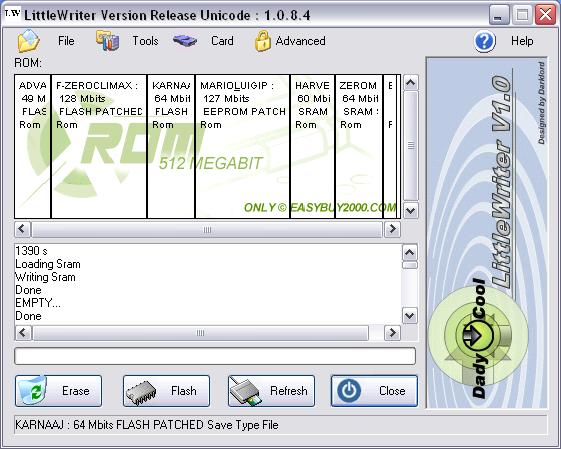
It will now write and load SRAM for a few seconds and go back to this screen when it's done. Click Close to close the program.
Turn off your GBA, remove it from the linker and turn it back on to start playing!
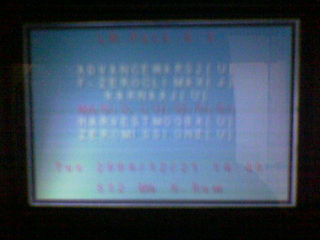
If you used the multiple GBA rom option you will see a menu looking like this when u boot it up (the picture is kinda blurry, but you get the idea of what it looks like anyway). Press A button on a game to start it.
Basic X-Rom Flasher flashing guide:
Click here to download X-Rom Flasher 1.0. Unzip and run the installation. Select the installation path you want and install to. Not much that can go wrong here.
Insert the X-Rom into your GBA and power it up while holding down START and SELECT for at least 5 seconds. This is to let the cart get ready for flashing. When you power it up, the Gameboy logo and Nintendo logo will appear. After a second the Nintendo logo will disappear leaving only the Gamboy logo on the screen (you will hear a sound when it disappears). It should look like this:
Note: If the cart is empty it might go directly into flashing mode. Either way, if the screen shows ONLY the Gameboy logo it is correctly started and ready for flashing.
Connect the linker into the EXT.1 port on your GBA like this, and open X-Rom Flasher.
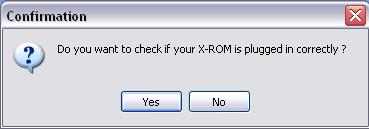
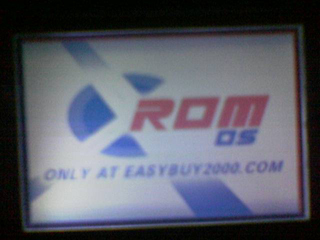
Explains itself now doesn't it? Click Yes. You must do this before you can flash.
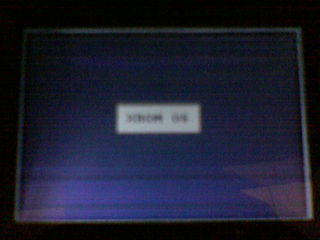
As you click yes, X-Rom Flasher will detect if your GBA is plugged in correctly. The GBA will make a sound and the screen will now look black only with XROM OS in the middle.

If you did it correctly this message will pop up. Click ok and you're ready to begin! First I will explain how to flash in single-rom mode. If you are going to flash Pogoshell this is what you will be using.
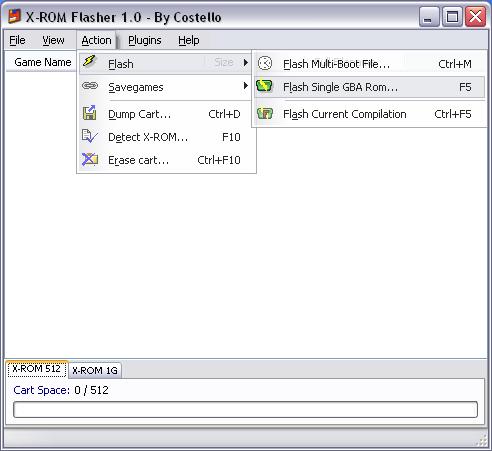
Click on Action, Flash, Flash Single GBA Rom, or just click F5 on your keyboard.
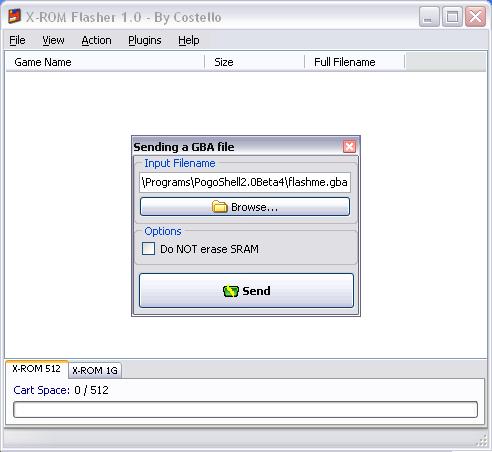
When you click it, this window will appear. Click browse and select the GBA rom you are going to flash. In my example this is flashme.gba which Pogoshell created, but it can be any GBA rom. Note: If you are flashing Pogoshell you must first add your roms to the Pogoshell root folder and build with build_xrom.bat. Click here to find out more on how to use Pogoshell.
If this is your first time flashing you can leave "Do NOT erase SRAM" unchecked. But this option is very neat if you for example already have Pogoshell with saves on your cart and have made a new flashme.gba file with different roms or a different theme etc. That way your saves and settings will still be there but with all the changes you made. Once you have selected the GBA rom click Send!
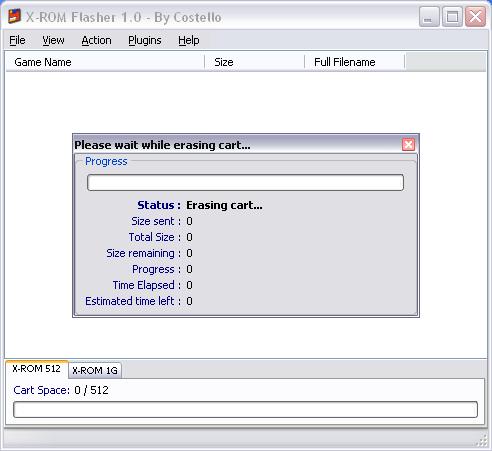
The program will now erase the cart. Even if it is empty. You can't see how the process is going, but it takes about 3 or 4 minutes.

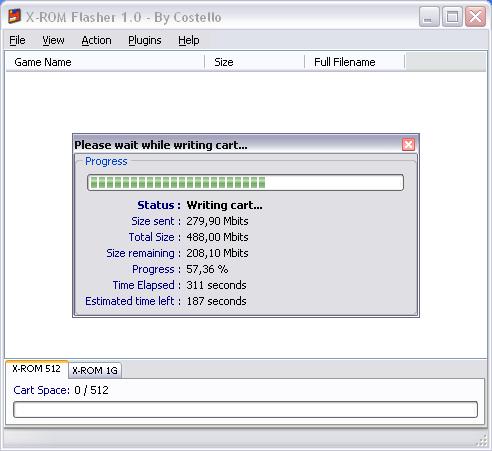
After the cart is erased it will start flashing automatically. Now you can see all the stats working. This is a nice feature that only X-Rom Flasher has. As you can see, 488 mbit takes 440 seconds (a little more than 7 minutes).
Moving along...

Complete!
That's it! Click ok and it will go back to the normal X-Rom Flasher window. You can now close the program, turn off your GBA and remove it from the linker. Turn it back on and the game you flashed will start! If you flashed Pogoshell, the Pogoshell menu will appear of course.
Next is how to flash more than one game using X-Rom Flasher.
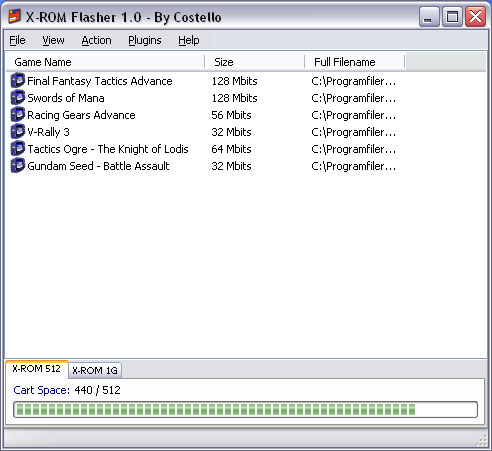
Drag all GBA roms you want to flash into the program. You can also use File - Add Roms...
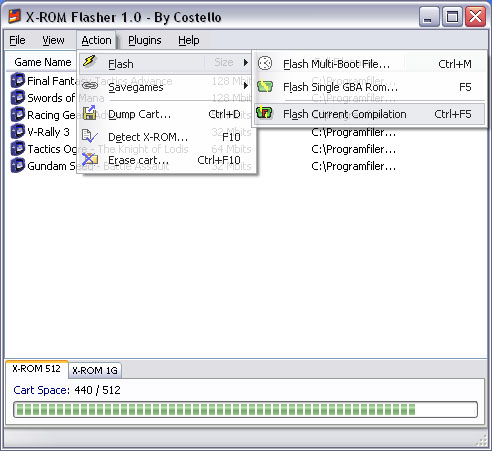
Once all roms are added you're ready to flash. Just make sure that the Cart Space number hasn't turned red as this indicates that the roms wont fit on the cart. Click Action - Flash - Flash Current Compilation (or CTRL+F5)
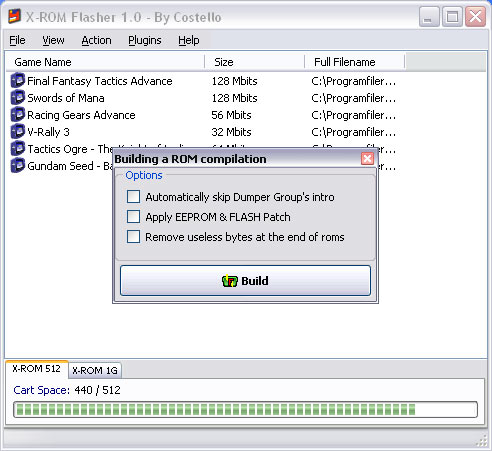
This window will pop up. You can check these if you like. The first will remove the intro that some release groups adds to certain games. The second will SRAM patch games that use FLASH or EEPROM saving. This MUST be checked for these games unless you have already patched them. The last option will trim the roms before flashing so they will take less space on the cart. Click Build when you're done.

After a few seconds, you should get a message saying the compilation has been built successfully. Click Ok and a new pop-up pops up. Here you can choose whether or not you want to delete the SRAM on the cart. If you are flashing a completely new build it is recommended that you don't check this (your SRAM will be wiped so make sure you take backups if you want to keep these saves for later). If, however, you are flashing some of the same roms that you already have on the cart, you can check it and your saves will be kept on the cart. After that click Send at it will start flashing the cart the same way as with single-roms.
Note: If you got an error message after attempting to build the compilation, make sure that your roms don't use more than 8 save slots (some games needs more than one). If you are still getting errors no matter what you try to flash, check out the FAQ.